Effortless Integration: Setting Up NeoDeck with Reloop DJ Controllers
Discover how to seamlessly integrate NeoDeck with Reloop DJ controllers for an unparalleled DJing experience. Follow our step-by-step guide.
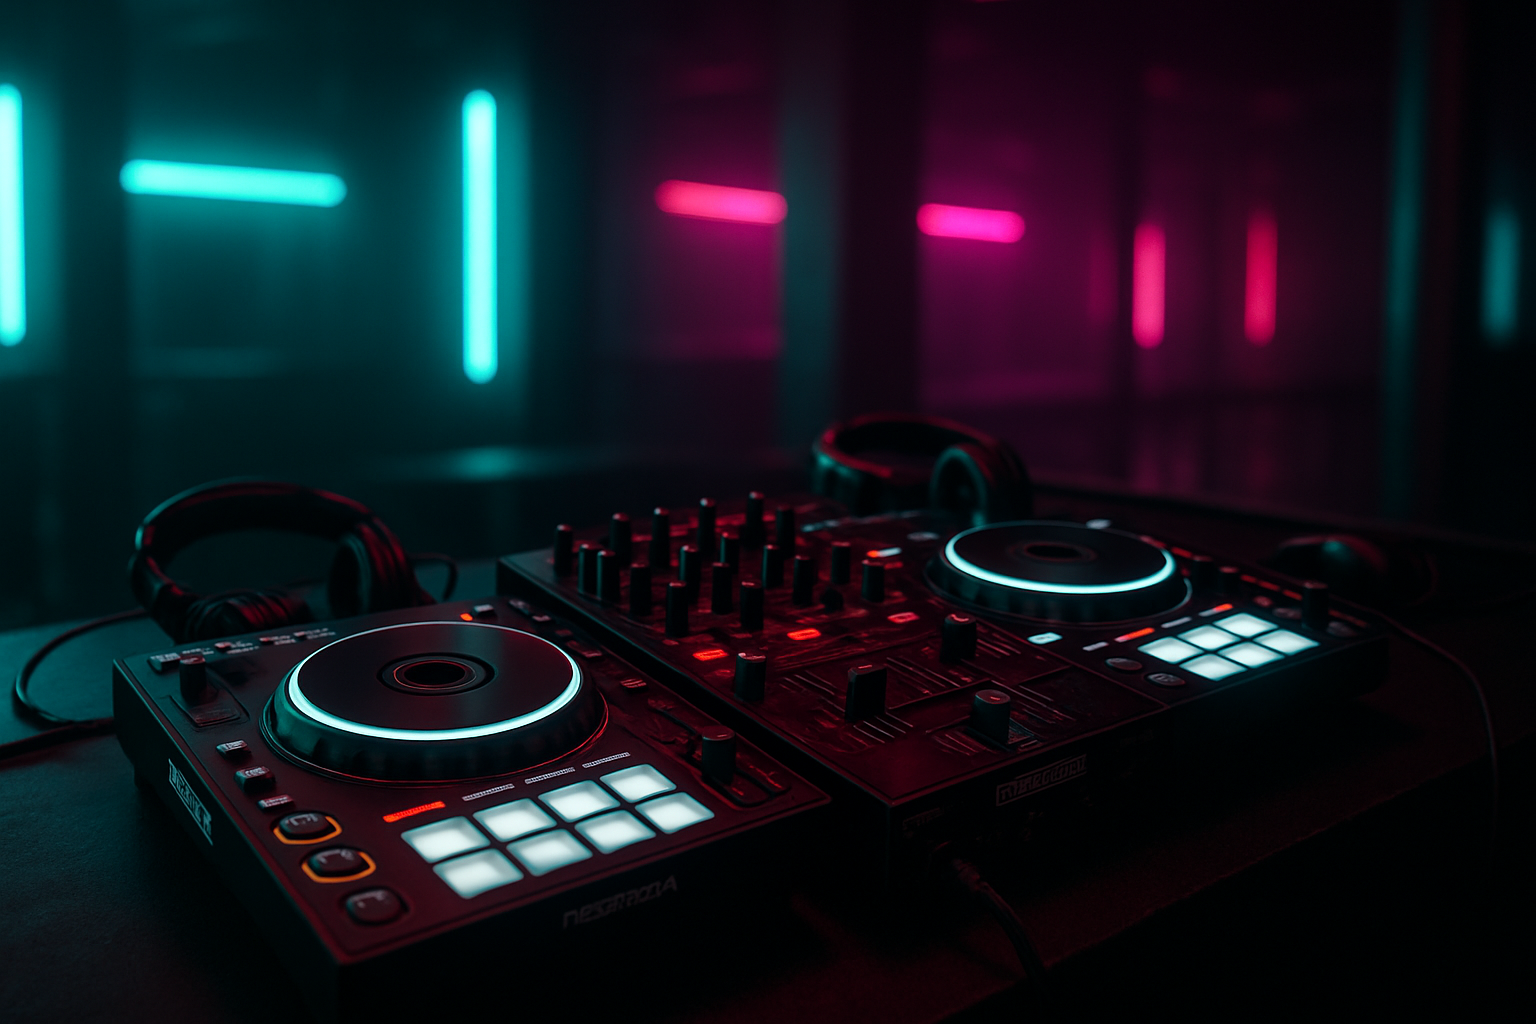
Introduction to NeoDeck and Reloop Compatibility
The NeoDeck, with its compact design and advanced features, is revolutionizing the DJ booth setup. When paired with Reloop DJ controllers, it creates a dynamic duo that enhances your performance capabilities. Understanding the seamless integration of these two can unlock new levels of creativity and efficiency.
Unboxing and Pre-Setup for NeoDeck
Before diving into the connection process, ensure that your NeoDeck is fully prepared for its debut. This involves unpacking and performing a preliminary inspection. Here are the essential steps:
- Unbox the NeoDeck: Carefully remove the NeoDeck from its packaging, ensuring all components are present.
- Check Connections: Verify that all ports, including USB-C, are intact and free from debris.
- Power Up: Connect the NeoDeck to a power source and boot it up. Appreciate the quick boot time — under 8 seconds!
Preparing Your Reloop DJ Controller
With the NeoDeck primed and ready, it's time to prepare your Reloop DJ controller. Here are the steps to ensure your controller is compatible and ready for integration:
- Firmware Update: Make sure your Reloop controller's firmware is updated to the latest version. Visit the Reloop website for firmware updates specific to your model.
- Cables and Connections: Gather the necessary cables — preferably the USB-C cable included with NeoDeck for optimal performance.
- Physical Check: Inspect the controller for any wear or damage, focusing on the USB port and connection stability.
Connecting NeoDeck to Your Reloop Controller
Now comes the crucial step: connecting the NeoDeck to your Reloop DJ controller. This process is straightforward, thanks to NeoDeck's plug-and-play capabilities:
- Connect via USB-C: Use a USB-C cable to connect the NeoDeck to your Reloop controller.
- Automatic Recognition: NeoDeck’s real-time OS will automatically recognize the Reloop controller, eliminating the need for driver installations.
- Audio Interface Setup: The built-in professional audio interface ensures precise sound management. Configure outputs to your preferred settings — Master and Booth/Monitor.
Fine-Tuning the Setup
Once connected, fine-tuning ensures your setup performs flawlessly during performances:
- Software Configuration: The NeoDeck comes pre-loaded with DJ software. Access software settings to customize your interface and controls.
- Sound Check: Conduct a thorough sound check, adjusting levels using NeoDeck’s touchscreen for precise control.
- Test Functionality: Run through all functions of your Reloop controller to ensure full integration and responsiveness.
Troubleshooting Common Issues
Even with the seamless integration, you might encounter minor hiccups. Here are common issues and solutions:
- Connection Errors: If the NeoDeck doesn’t recognize the controller, try reconnecting the USB-C cable or restarting both devices.
- Audio Distortions: Check audio settings and ensure the correct output channels are selected in the software.
- Software Glitches: Ensure NeoDeck’s software is updated — updates can be found on neodeck.store.
Conclusion: Maximizing Your DJ Experience
Connecting your NeoDeck with a Reloop DJ controller opens up a world of possibilities, providing a streamlined, efficient, and powerful DJing setup. By following this guide, you ensure a smooth integration process, allowing you to focus on what truly matters — delivering outstanding performances. Embrace the innovative capabilities of NeoDeck, and redefine your DJ experience today.
Ready to upgrade your DJ setup?
Join thousands of DJs on the waitlist for NeoDeck — the purpose-built DJ computer.
Get Early Access